

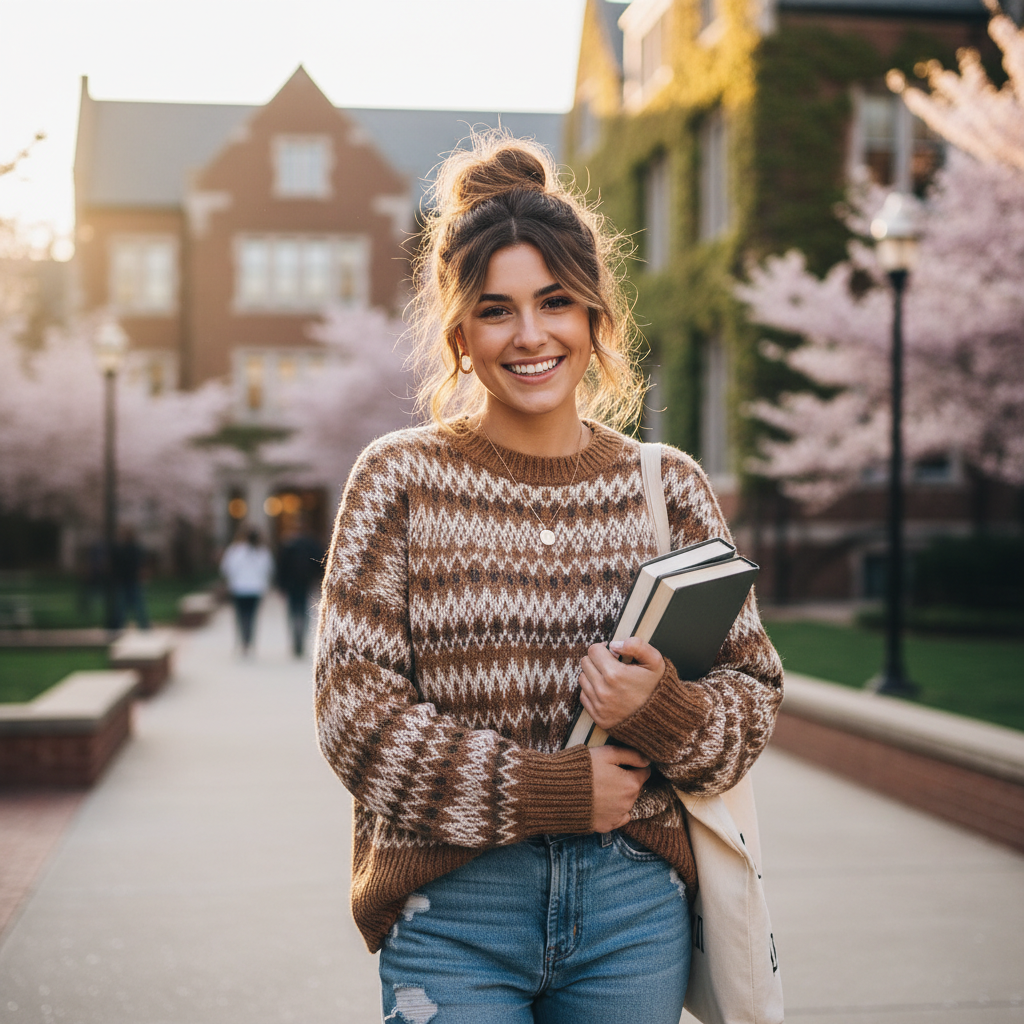
The messy bun is a true hero for any busy college student or professional navigating the demands of the office. It’s the ultimate blend of comfort, style, and practicality, offering a chic solution for those days when time is short but looking polished is still a priority. Far from being just a ‘throw-it-up’ style, a well-executed messy bun can elevate your look, making you appear effortlessly put-together and ready for anything. Whether you’re rushing to a lecture, heading into a big meeting, or just want a relaxed yet refined vibe, there’s a messy bun for every occasion, hair type, and length. Let’s dive into the world of cute messy buns and discover how to master this versatile hairstyle.
The Classic High Messy Bun

The high messy bun is a timeless favorite, known for its youthful energy and ability to instantly lift your features. It’s perfect for showcasing your neckline and keeping hair completely off your face, making it ideal for active days or intense study sessions. This style works wonderfully for both college and office environments, offering a playful yet professional aesthetic.
Suitable Hair Length and Texture
This style is best suited for medium to long hair. While it can be adapted for shorter lengths, significant volume might be harder to achieve. It works beautifully on most hair textures—straight, wavy, or loosely curly. Straight hair might need a bit more teasing for volume, while wavy and curly hair naturally provides the texture needed for a ‘messy’ look.
Face Shape Suitability
The high messy bun is incredibly versatile and generally complements oval, round, heart, and square face shapes. The height adds length to round faces, while face-framing pieces can soften angular features.
Styling Method
- Prep Your Hair: Start with dry hair. For added texture and grip, spray a dry shampoo or texturizing spray at the roots.
- Gather Your Hair: Flip your head upside down and gather all your hair into a high ponytail on top of your head. Secure it with a hair tie, but don’t pull it too tight.
- Create the Bun: Twist the ponytail loosely and then wrap it around the base of the ponytail, creating a bun shape.
- Secure and Loosen: Secure the bun with another hair tie or several bobby pins. Gently tug on sections of the bun and around your hairline to loosen it and create a softer, messier effect. Pull out a few face-framing strands if desired.
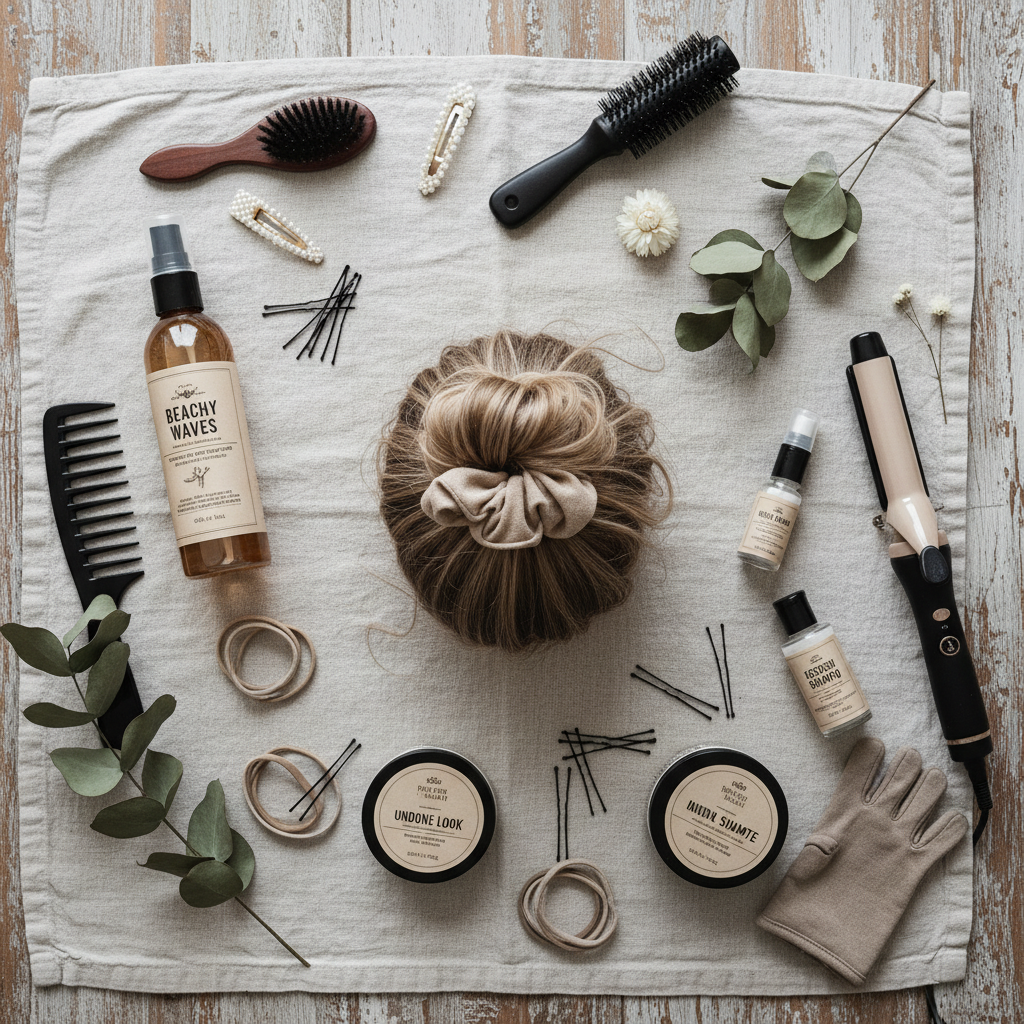
Recommended Hair Tools and Products
- Hair ties (elastic, preferably snag-free)
- Bobby pins
- Dry shampoo or texturizing spray
- Light-hold hairspray
- Paddle brush or comb for smoothing
Tips to Make the Hairstyle Last Longer
- Start with slightly day-old hair for better grip.
- Use a good quality hairspray after styling.
- For extra hold, lightly backcomb the ponytail before twisting.
- Secure with plenty of bobby pins, crisscrossing them for a firmer hold.
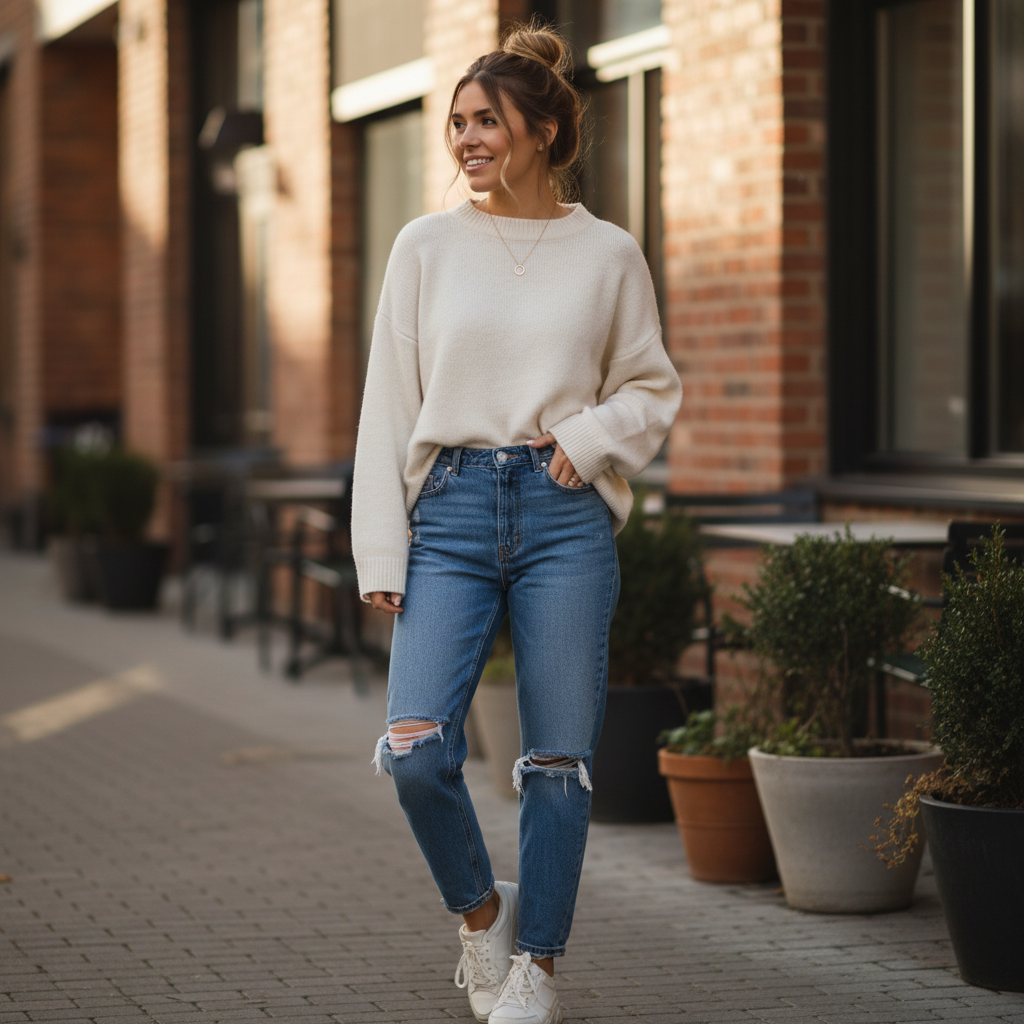
The Elegant Low Messy Bun

The low messy bun exudes sophistication and grace, making it an excellent choice for office settings, presentations, or even a more formal college event. It’s a softer, more understated version of the messy bun, offering a polished look without feeling overly rigid. This style is particularly flattering as it draws attention to your neckline and can be easily accessorized.
Suitable Hair Length and Texture
This style is ideal for medium to long hair. It works well with all hair textures, though very fine, straight hair might need some product for added volume. Wavy and curly hair naturally lend themselves to the soft, undone aesthetic of a low bun.
Face Shape Suitability
The low messy bun is universally flattering, especially for oval, long, and square face shapes. It can soften a strong jawline and provides balance for longer faces.
Styling Method
- Prep Your Hair: Apply a volumizing mousse or texturizing spray if your hair is very fine.
- Gather Your Hair: Gather your hair at the nape of your neck, as if creating a low ponytail.
- Twist and Wrap: Loosely twist the hair and wrap it around itself to form a bun. You can also create a loop with the hair tie, pull the hair halfway through, and then wrap the remaining ends around.
- Secure and Refine: Secure with a hair tie and bobby pins. Gently pull out small sections from the bun and around the temples to create a soft, messy look.
Recommended Hair Tools and Products
- Hair ties
- Bobby pins
- Texturizing spray or volumizing mousse
- Flexible-hold hairspray
- Fine-tooth comb for precise parting (optional)
Tips to Make the Hairstyle Last Longer
- Ensure the initial low ponytail is secure but not too tight.
- Use a flexible hairspray to maintain the soft texture without stiffness.
- For extra volume, gently backcomb the hair at the crown before gathering it.
The Half-Up Messy Bun- A Playful Twist
For those days when you can’t decide between wearing your hair up or down, the half-up messy bun is the perfect compromise. It’s a youthful, casual, and incredibly chic style that keeps hair out of your face while letting your length flow freely. This look is fantastic for college classes, casual office days, or weekend outings, blending effortlessly with a relaxed vibe.
Suitable Hair Length and Texture
This style is versatile and works well on medium to long hair. It’s particularly charming on wavy and curly textures, which naturally provide the volume and ‘messiness’ needed. Straight hair can also achieve this look with the help of texturizing products.
Face Shape Suitability
The half-up messy bun is suitable for almost all face shapes, particularly flattering on oval, heart, and long face shapes. The hair around the face can be styled to complement individual features.
Styling Method
- Section Your Hair: Part your hair horizontally from ear to ear across the crown of your head. This will be the section for your bun.
- Gather the Top Section: Gather this top section of hair as if creating a half-up ponytail. Decide on the height of your bun—high for a more playful look, or slightly lower for a subtle touch.
- Create the Bun: Twist the gathered hair loosely and wrap it around the base to form a small, messy bun. Secure it with a small hair tie or bobby pins.
- Fluff and Finish: Gently tug at the bun to make it fuller and messier. Let a few front pieces fall naturally to frame your face.
Recommended Hair Tools and Products
- Small hair ties
- Bobby pins
- Texturizing spray or sea salt spray
- Light-hold hairspray
Tips to Make the Hairstyle Last Longer
- Start with dry hair that has some natural texture.
- Use a clear elastic band for a discreet hold.
- Spritz the bun lightly with hairspray to keep flyaways in check.
The Braided Messy Bun- An Artistic Touch
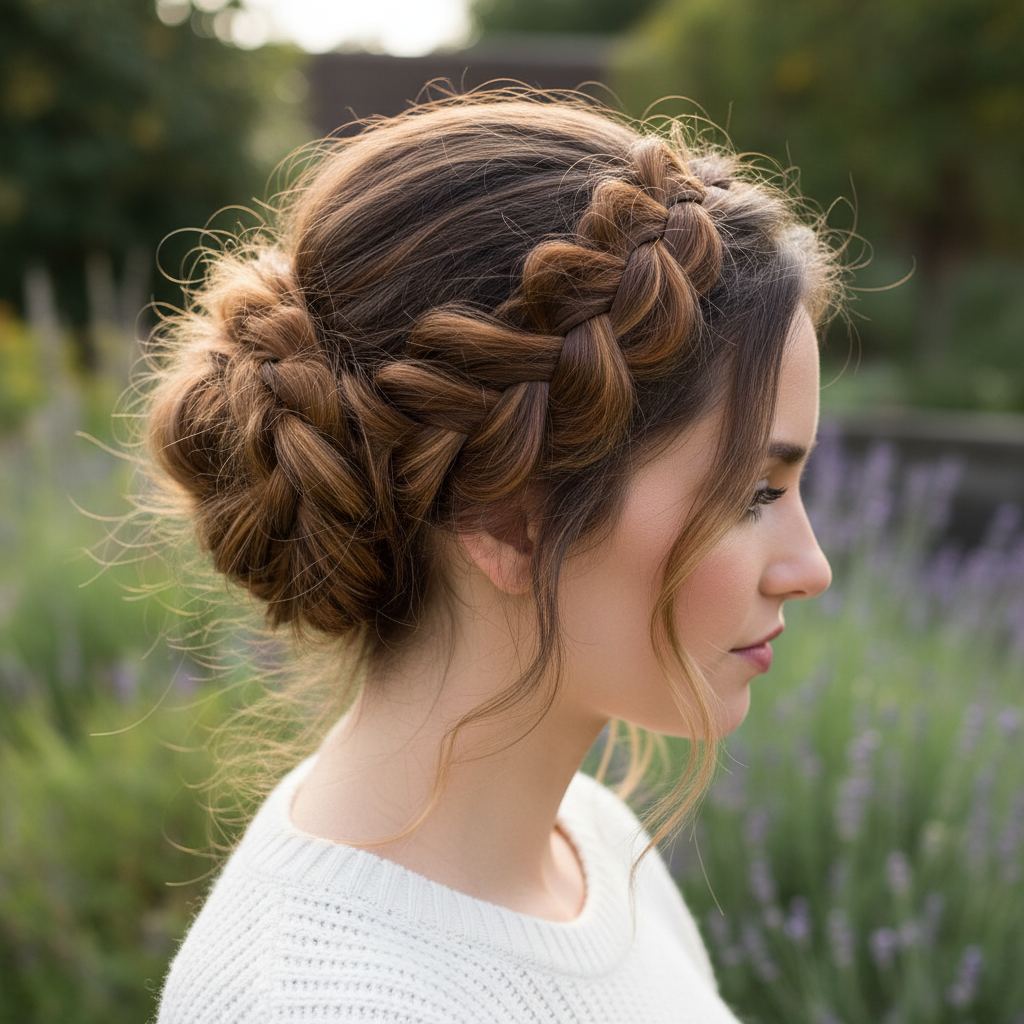
Elevate your messy bun game with a braided element. Whether it’s a small braid leading into the bun or a braided bun itself, this style adds an artistic and intricate touch while maintaining the desired relaxed vibe. It’s perfect for when you want to add a little extra flair to your college or office look without spending too much time.
Suitable Hair Length and Texture
This style works best for medium to long hair, as you need enough length to create a braid. It’s suitable for all hair textures, though wavy and slightly textured hair will enhance the ‘messy’ aspect beautifully.
Face Shape Suitability
Braided messy buns are universally flattering. The added detail can draw attention upwards, making it great for oval, heart, and round face shapes.
Styling Method
- Prep and Section: Decide where you want your braid. You can do a French braid starting from your forehead, a Dutch braid along your hairline, or simply braid a section of your ponytail.
- Create the Braid: Braid the chosen section. For a French or Dutch braid, incorporate hair as you go. For a simple braided bun, create a ponytail, braid the ponytail, and then wrap the braid into a bun.
- Form the Bun: Once your braid is complete, gather the remaining hair (or the braided ponytail) into your desired bun position (high, mid, or low). Twist and wrap it loosely, incorporating the braid into the bun’s structure.
- Secure and Loosen: Secure with hair ties and bobby pins. Gently pull on loops of the braid and sections of the bun to create a soft, messy finish.
Recommended Hair Tools and Products
- Hair ties
- Bobby pins
- Texturizing spray
- Flexible-hold hairspray
- Tail comb for precise parting
Tips to Make the Hairstyle Last Longer
- Ensure your braid is secure but not too tight before forming the bun.
- Use a light pomade or styling cream on the braid to prevent flyaways.
- A strong-hold hairspray can be used on the finished bun for extra longevity.
Key Takeaways for Mastering the Messy Bun
Achieving the perfect messy bun is an art, but with these key takeaways, you’ll be a pro in no time:
- Texture is Your Friend: Day-old hair or texturizing products provide the best grip and volume.
- Don’t Aim for Perfection: The charm of a messy bun lies in its imperfection. Over-thinking it often leads to a too-neat bun.
- Strategic Loosening: Gently tugging at sections around the bun and hairline creates the desired soft, undone look.
- Secure with Pins: Bobby pins are crucial for securing loose ends and adding extra hold.
- Product Power: Dry shampoo, texturizing spray, and flexible hairspray are your go-to products.
Hair Care and Maintenance Tips for Bun-Ready Hair
Healthy hair is the foundation for any great hairstyle, especially one that relies on natural texture like the messy bun. Here’s how to keep your locks in top condition:
- Regular Trims: Keep split ends at bay with trims every 6-8 weeks.
- Hydration: Use a good quality conditioner and a weekly hair mask to keep hair moisturized and pliable.
- Heat Protection: If you use heat tools, always apply a heat protectant to prevent damage.
- Gentle Brushing: Use a wide-tooth comb or a soft paddle brush to detangle, especially when hair is wet.
- Avoid Over-Washing: Washing your hair every day can strip natural oils. Embrace dry shampoo for in-between washes.
Styling Dos and Don’ts
Do
- Do Experiment with Placement: Try high, mid, and low buns to see what flatters your face shape most.
- Do Use Texture Products: Dry shampoo or texturizing spray adds grit and volume, making the bun hold better.
- Do Embrace Imperfection: The messier, the better! Don’t strive for a perfectly sleek bun.
- Do Pull Out Face-Framing Pieces: This softens the look and adds to the effortless charm.
- Do Accessorize: Scarves, scrunchies, or subtle hair clips can elevate your messy bun.
Don’t
- Don’t Use Too Many Products: Overdoing it with heavy gels or sprays can make your bun stiff and unnatural.
- Don’t Pull Too Tight: This can cause tension headaches and damage your hair over time.
- Don’t Skip Bobby Pins: They are essential for securing the bun and preventing it from unraveling.
- Don’t Be Afraid to Re-do: If it doesn’t look right the first time, take it down and try again. Practice makes perfect!
- Don’t Forget About Hair Health: A messy bun looks best on healthy, well-maintained hair.
Common Mistakes to Avoid
Even though it’s a ‘messy’ style, there are a few pitfalls to avoid to ensure your bun looks chic, not sloppy:
- Too Tight: A bun that’s pulled too tight can look severe and cause hair breakage. Always aim for a relaxed hold.
- Not Enough Texture: Trying to create a messy bun on super-sleek, freshly washed hair can result in a bun that slips out or looks flat.
- Ignoring Face Shape: While versatile, adjusting the height and looseness can significantly enhance how a bun complements your face.
- Using the Wrong Hair Ties: Thin, flimsy hair ties won’t provide enough support, while those with metal can snag and damage hair. Opt for fabric-covered or strong elastic ties.
- Forgetting to Secure: A messy bun still needs a good foundation. Ensure it’s securely pinned so it lasts throughout your day.
Occasion-Based and Seasonal Styling Advice
The beauty of the messy bun lies in its adaptability. Here’s how to tailor it for different scenarios:
- For College Classes: Opt for a high messy bun or a half-up messy bun. They’re quick, keep hair out of your face for note-taking, and give off a casual, studious vibe.
- For Office Meetings: A low messy bun or a braided messy bun offers a more polished and professional appearance. Ensure it’s neat at the base with intentional ‘messy’ elements.
- Spring/Summer: Embrace lighter, airier messy buns. Add a floral scrunchie or a silk scarf for a touch of seasonal flair. The half-up messy bun is perfect for warmer weather.
- Fall/Winter: A slightly tighter, yet still soft, low messy bun can be paired with cozy sweaters and scarves. Consider incorporating a velvet scrunchie or a subtle hair clip.
- Formal Events: Yes, even for formal occasions! A low, intricately braided messy bun with strategically placed delicate pins or pearls can look incredibly elegant and modern.