

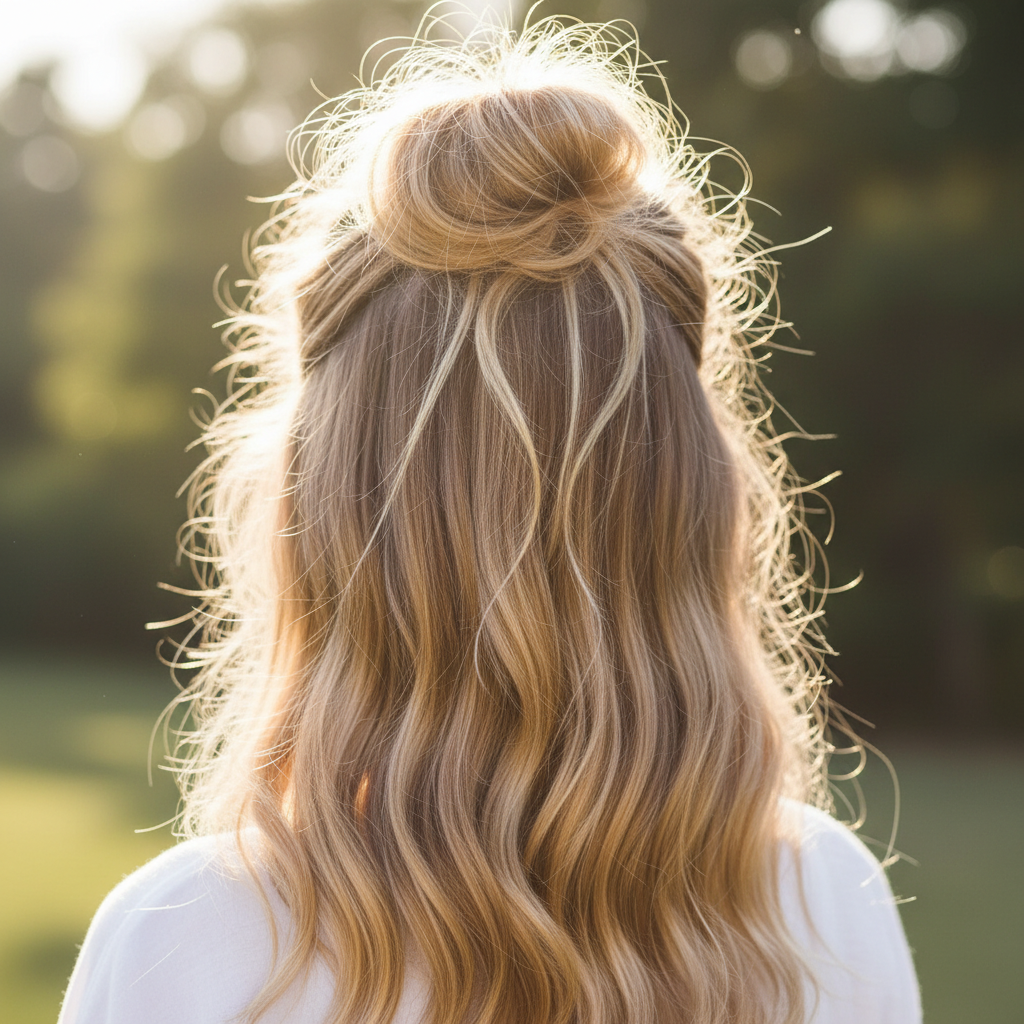
The messy bun. It’s the ultimate paradox of hairstyles—effortlessly chic, yet often requiring a touch of strategic styling. Far from just a ‘rolled out of bed’ look, the modern messy bun has evolved into a versatile statement, perfect for everything from a casual coffee run to a sophisticated evening out. For today’s modern girl, it’s about embracing imperfection with flair, creating a look that speaks to individuality and confidence. If you’ve been yearning to master the art of the perfectly undone updo, you’re in the right place. We’re diving deep into the trendiest messy bun variations, offering expert tips, tools, and tricks to help you achieve your desired look with ease and elegance.
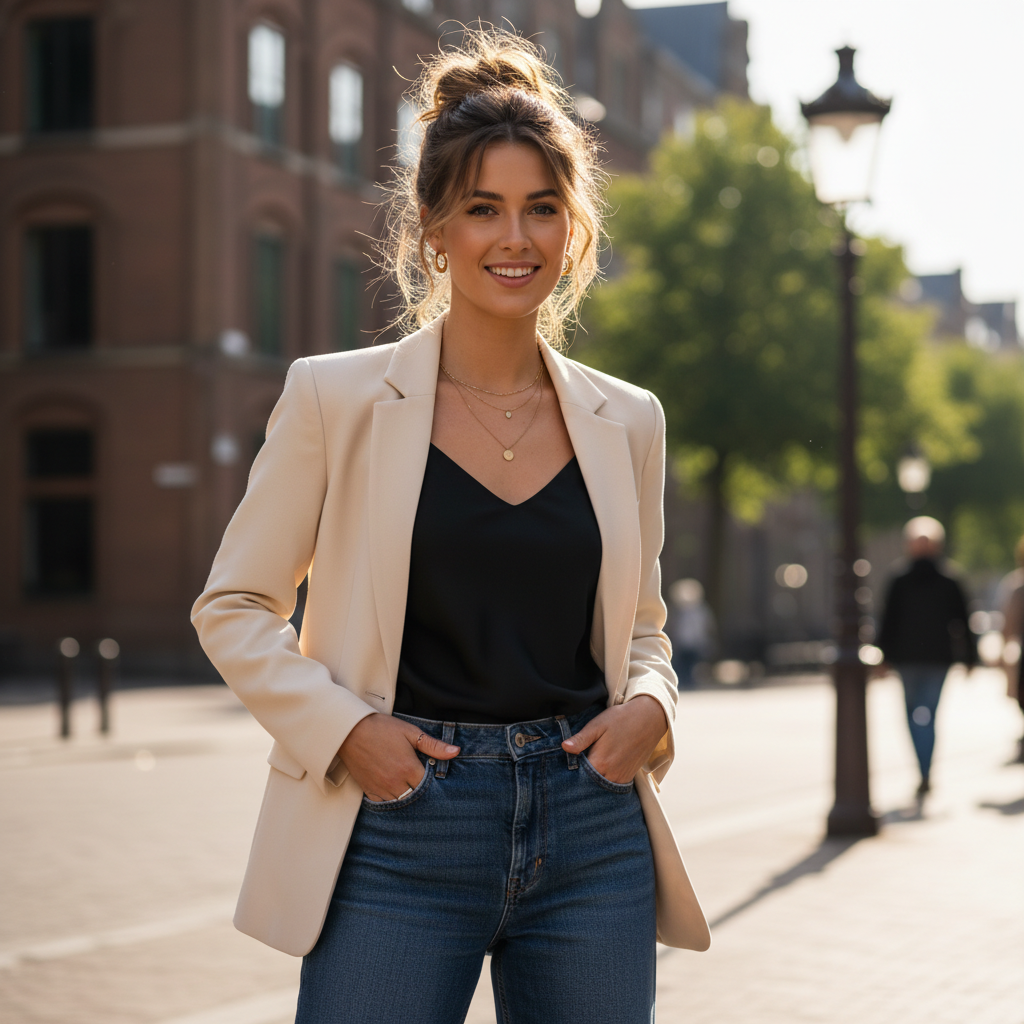
The Effortlessly Chic High Messy Bun
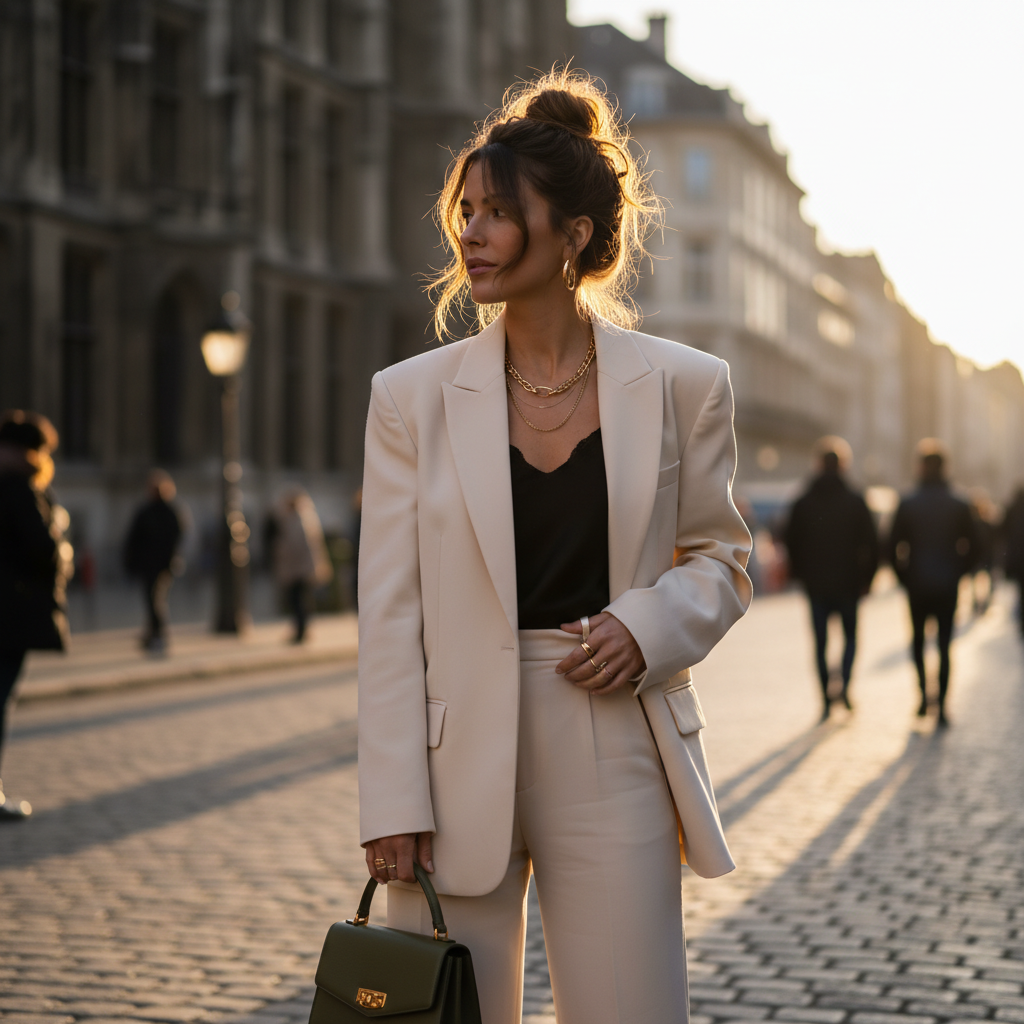
The high messy bun is a go-to for its ability to instantly lift and energize your look. It’s playful, sophisticated, and incredibly versatile, making it a staple for modern girls on the move.
Suitable Hair Length and Texture
This style shines brightest on hair that is medium to long. While it works beautifully on all hair textures—straight, wavy, curly, or coily—those with natural waves or curls will find it particularly easy to achieve a voluminous, textured finish. Straight hair may require a little extra texturizing product and backcombing to build body.
Face Shape Suitability
The high messy bun is a universally flattering style. It tends to elongate the neck and draw attention upwards, making it particularly complementary for oval, round, and heart-shaped faces. For square or long face shapes, leaving a few wispy strands around the face can soften the look beautifully.
Styling Method and Technique
- Prep Your Hair: Start with day-old hair for better grip, or add a texturizing spray or dry shampoo to clean hair.
- High Ponytail: Gather your hair into a high ponytail, positioning it at the crown of your head. Secure with a strong elastic. Don’t worry about perfection; a little looseness at the roots adds to the messy charm.
- Twist and Wrap: Lightly twist the ponytail, then begin wrapping it loosely around the base of the elastic.
- Secure with Pins: As you wrap, use bobby pins to secure sections of the bun. Don’t be afraid to pull out a few small strands or loop sections to create that ‘undone’ effect. Focus on securing the bun’s shape while keeping it loose.
- Final Touches: Gently tug at sections of the bun and around your hairline to create volume and softness. Allow a few face-framing pieces to fall naturally.
Recommended Hair Tools and Products
- Hair Tie: A strong, snag-free elastic.
- Bobby Pins: Plenty of them, preferably matching your hair color.
- Texturizing Spray: For grip and volume (e.g., Oribe Dry Texturizing Spray).
- Dry Shampoo: To absorb oil and add grit.
- Light-Hold Hairspray: To set the style without stiffness.
Tips to Make the Hairstyle Last Longer
For enduring hold, apply a light mist of flexible-hold hairspray before and after styling. Ensure your bobby pins are crisscrossed or inserted deeply into the bun for maximum security. Avoid touching your bun too much throughout the day, as this can loosen the style.
The Low Slung Relaxed Messy Bun
The low messy bun exudes an air of sophisticated ease. It’s less about playful energy and more about understated elegance, perfect for a refined yet relaxed aesthetic.
Suitable Hair Length and Texture
This style is ideal for medium to long hair and works well across all textures, from fine to thick. Those with thicker hair will achieve a more substantial bun, while fine hair can be gently teased for added volume before gathering.
Face Shape Suitability
The low slung bun is incredibly flattering for a range of face shapes, particularly those with oval, square, and long faces, as it can soften angles and add width to the lower half of the head. It’s a versatile choice that complements almost everyone.
Styling Method and Technique
- Prep Hair: Apply a smoothing serum to tame frizz, or a light texturizer for added grip.
- Low Ponytail: Gather your hair into a loose low ponytail at the nape of your neck. Avoid pulling it too tight.
- Loop and Twist: On the last loop of your hair tie, pull your hair only halfway through, creating a small loop. Then, take the remaining tail and loosely wrap it around the base of this loop, securing it with bobby pins.
- Gentle Loosening: Gently pull a few strands from the bun and around your temples to create a soft, romantic, ‘undone’ effect.
- Secure: Use bobby pins to secure any loose ends and ensure the bun feels stable yet relaxed.
Recommended Hair Tools and Products
- Soft Hair Tie: A gentle elastic to avoid harsh creases.
- Bobby Pins: Essential for securing the loose structure.
- Shine Serum or Anti-Frizz Cream: For a polished, smooth finish.
- Flexible Hold Hairspray: To maintain the soft shape.
Tips to Make the Hairstyle Last Longer
For added staying power, gently backcomb the ponytail before forming the bun. Use a flexible-hold hairspray to mist the completed style. If your hair is very fine, a volumizing mousse applied before drying can give it more body to work with.
The Half-Up Half-Down Messy Bun
Combining the best of both worlds, the half-up half-down messy bun offers a chic way to keep hair out of your face while showcasing your length and texture. It’s youthful, flirty, and perfectly on-trend.
Suitable Hair Length and Texture
This style is perfect for medium to long hair. It beautifully highlights natural waves and curls, but also looks stunning on straight hair with a little added texture. The longer your hair, the more dramatic the contrast between the bun and the flowing bottom section.
Face Shape Suitability
The half-up half-down messy bun is incredibly versatile and suits all face shapes. It opens up the face while the lower hair softens the jawline, creating a balanced and flattering look.
Styling Method and Technique
- Section Hair: Part your hair horizontally from ear to ear, gathering the top section as if you were creating a half-ponytail.
- High Ponytail (Top Section): Secure this top section into a ponytail, positioning it where you want your bun to sit (usually at the crown or slightly lower).
- Create the Bun: Loop your ponytail through the elastic, pulling it halfway through on the last pass to create a loop. Take the remaining tail and wrap it loosely around the base, securing with bobby pins to form a messy bun.
- Enhance Lower Section: For added appeal, use a curling iron or wand to create soft waves in the loose bottom section of your hair.
- Final Adjustments: Gently pull strands from the bun and around your face for a softer, more effortless finish.
Recommended Hair Tools and Products
- Small Elastic Hair Tie: For the top section.
- Bobby Pins: To secure the bun.
- Wave or Texturizing Spray: To enhance the natural texture of the loose hair.
- Curling Wand (Optional): For adding waves to the bottom section.
Tips to Make the Hairstyle Last Longer
Ensure the elastic for the top section is secure but not too tight. A light mist of hairspray on both the bun and the loose waves will help maintain the style throughout the day. Avoid over-brushing the bottom section once styled to preserve the waves.
The Braided Messy Bun Twist
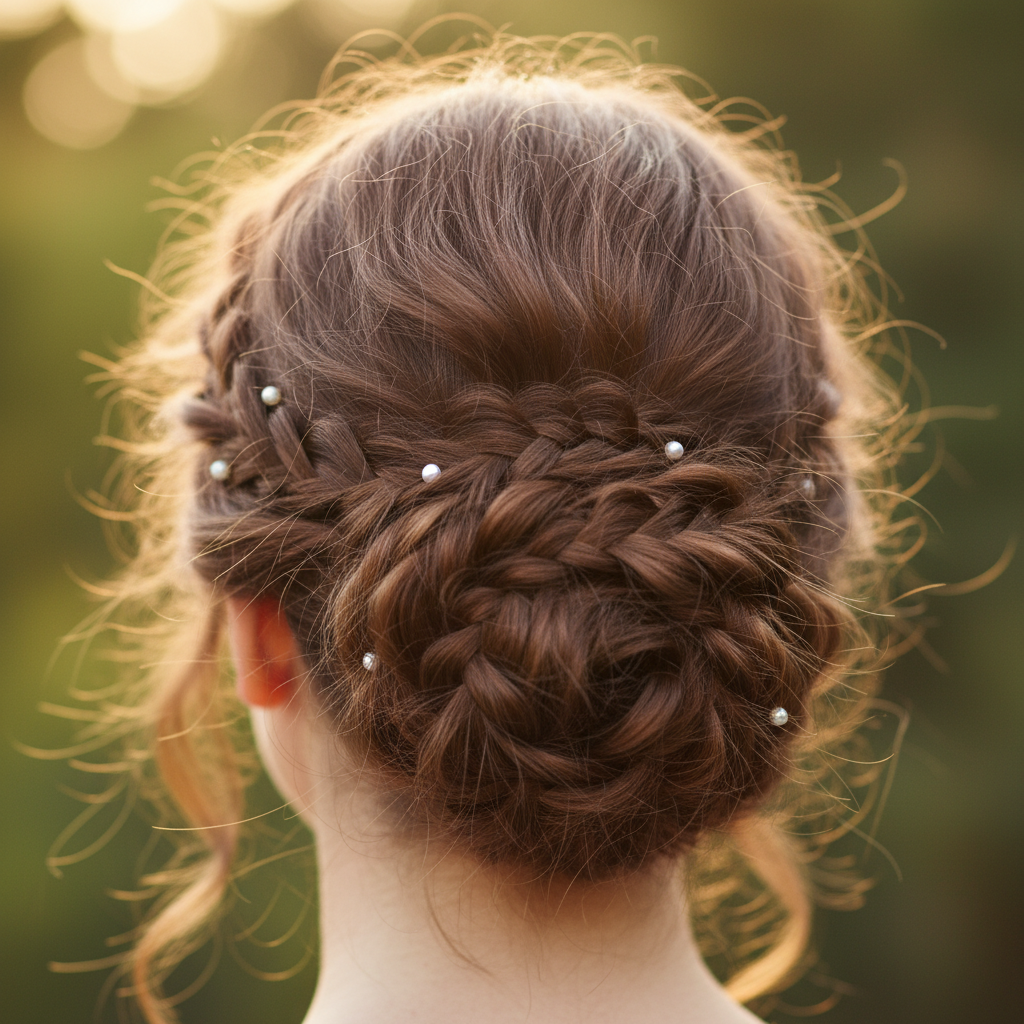
Elevate your messy bun with a touch of intricate braiding. The braided messy bun twist adds texture, interest, and a bohemian flair, making it perfect for special occasions or when you want to feel a little more put-together.
Suitable Hair Length and Texture
This style works best on long hair, as it provides enough length to create braids and then form a substantial bun. It’s beautiful on all hair textures, though wavy or slightly curly hair can lend itself well to the messy, textured aesthetic.
Face Shape Suitability
The braided messy bun is universally appealing. It can add softness to oval and diamond face shapes, and the added detail can draw attention to the eyes and cheekbones.
Styling Method and Technique
- Prep Hair: Apply a light hold styling cream or texturizing spray to give hair some grip.
- Section for Braids: Decide where you want your braids. You can create two small braids at the temples, one larger braid along the hairline, or even braid the entire ponytail before forming the bun.
- Braid Sections: Braid your chosen sections. French braids or Dutch braids work well for a more integrated look, while simple three-strand braids are easier to incorporate. Secure the ends of the braids with tiny clear elastics.
- Gather Hair for Bun: Gather all your hair, including the braided sections, into a ponytail at your desired bun height (high, mid, or low).
- Form the Messy Bun: Create your messy bun as usual, wrapping and pinning the hair loosely around the base. Ensure the braids are visible and integrated into the bun’s design, not hidden.
- Adjust and Finish: Gently tug at the bun and braids to enhance their messy texture. Pull out a few face-framing pieces if desired, and set with hairspray.
Recommended Hair Tools and Products
- Small Clear Elastics: For securing braids.
- Bobby Pins: For the bun.
- Light Hold Cream or Mousse: For braid control and definition.
- Medium Hold Hairspray: To keep everything in place.
Tips to Make the Hairstyle Last Longer
Ensure your braids are secure but not too tight. A light mist of hairspray on the braids before forming the bun can help prevent flyaways. Use plenty of bobby pins to secure the bun, paying attention to anchor points where the braids meet the bun.
The Double Messy Bun Fun-Space Buns
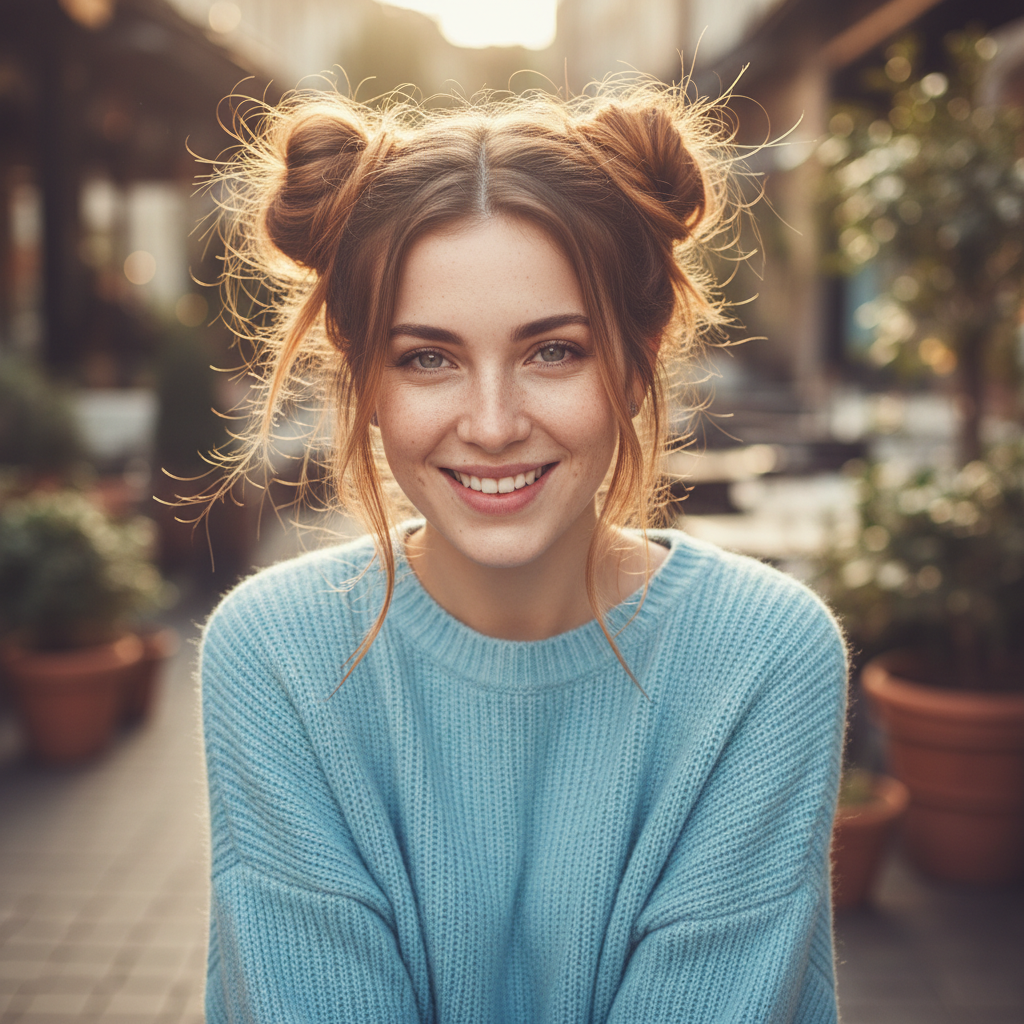
For a playful, youthful, and undeniably trendy look, the double messy bun—or space buns—is a fantastic choice. It’s a statement style that brings a fun, edgy vibe to any outfit, perfect for festivals, casual outings, or just injecting some joy into your day.
Suitable Hair Length and Texture
Space buns are best suited for medium to long hair. They work beautifully on all hair textures, from straight to coily. Those with thicker hair will achieve more voluminous buns, while fine hair can be backcombed to add body.
Face Shape Suitability
This style is particularly flattering for round, oval, and heart-shaped faces, as it draws attention upwards and creates a playful symmetry. It can also add a youthful touch to more angular face shapes.
Styling Method and Technique
- Center Part: Create a clean center part down the back of your head, dividing your hair into two equal sections.
- High Pigtails: Gather each section into a high pigtail, positioning them symmetrically on either side of your head. Secure with hair ties.
- Create the Buns: For each pigtail, either twist the hair and wrap it loosely around the base, or create a loop by pulling the hair halfway through on the last pass of the elastic. Secure with bobby pins, creating a messy, undone bun on each side.
- Volume and Messiness: Gently tug at sections of each bun and around your hairline to create volume and soften the look.
- Symmetry Check: Ensure both buns are roughly the same size and positioned evenly.
Recommended Hair Tools and Products
- Two Strong Hair Ties: For the pigtails.
- Bobby Pins: For securing each bun.
- Texturizing Spray or Dry Shampoo: For added grip and volume.
- Strong Hold Hairspray: To keep the playful style in place.
Tips to Make the Hairstyle Last Longer
Use good quality, strong hair ties at the base of your pigtails. Don’t be shy with bobby pins—use several to secure each bun from multiple angles. A strong-hold hairspray will be your best friend for keeping these fun buns in place all day and night.
The Accessorized Messy Bun Statement
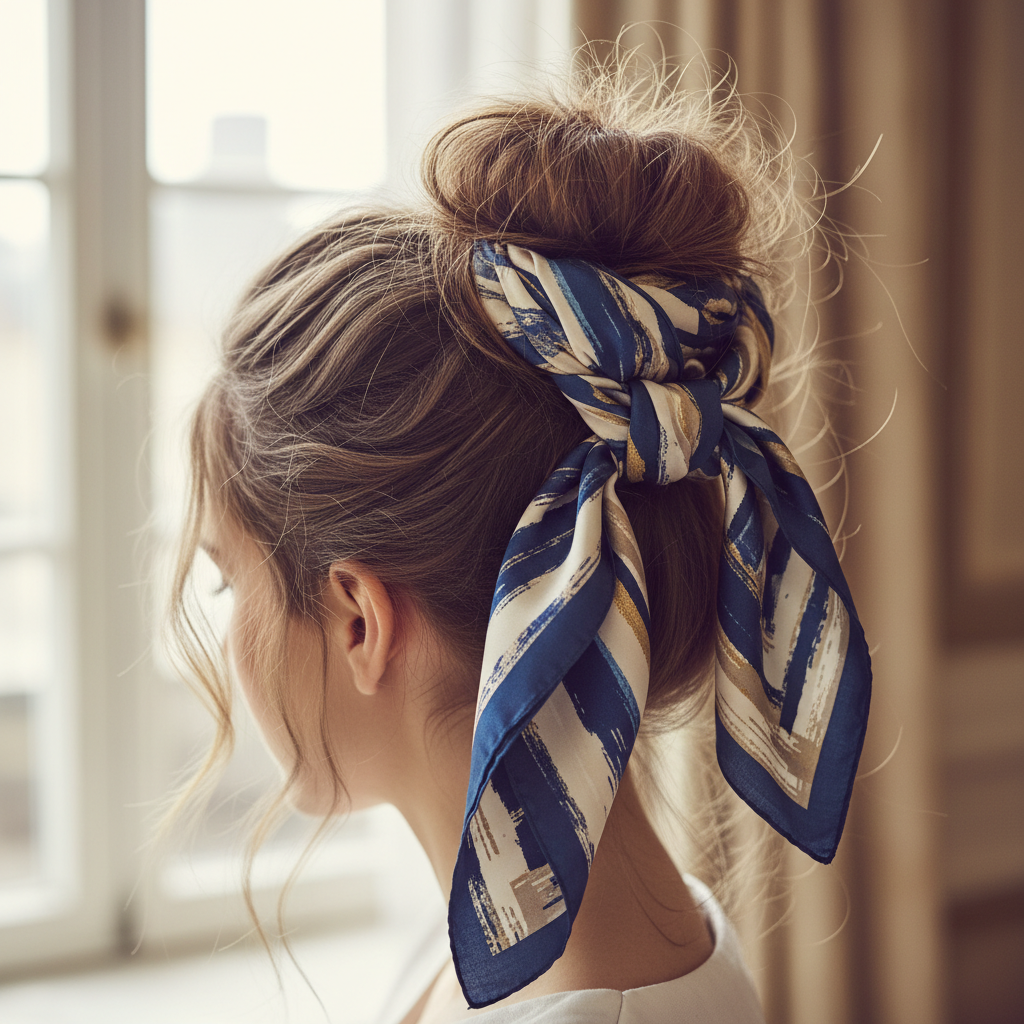
A messy bun is a perfect canvas for accessories. From silk scarves to ornate clips, adding an accessory can transform a simple messy bun into a fashion statement, reflecting your personal style and elevating your look for any occasion.
Suitable Hair Length and Texture
Any hair length that can form a bun can be accessorized! This includes short, medium, and long hair. All textures are suitable, as the accessory becomes the focal point.
Face Shape Suitability
Since the accessory is the star, this style is universally flattering for all face shapes. The choice of accessory can be tailored to complement individual features.
Styling Method and Technique
- Create Your Base Bun: Style any of the messy bun variations discussed above—high, low, half-up, or even braided.
- Choose Your Accessory: Select an accessory that complements your outfit and desired look. Options include:
- Silk Scarf: Wrap it around the base of the bun, tie it into a bow, or weave it through the bun itself.
- Claw Clip or Barrette: Use a decorative clip to hold back front sections of hair, or to secure the bun itself if it’s a larger clip.
- Headband: Place a headband over your styled bun, allowing some wispy pieces to frame your face.
- Hair Pins or Jewels: Adorn the bun with decorative bobby pins, pearl pins, or sparkling jewels.
- Integrate the Accessory: Carefully place or wrap your chosen accessory, ensuring it’s secure and enhances the messy bun without overwhelming it.
- Final Adjustments: Adjust any loose strands and ensure the accessory is positioned perfectly.
Recommended Hair Tools and Products
- Your preferred hair ties and bobby pins for the bun.
- The chosen accessory: Scarves, clips, headbands, pins, etc.
- Light Hold Hairspray: To keep stray hairs in check around the accessory.
Tips to Make the Hairstyle Last Longer
Ensure your base messy bun is well-secured before adding the accessory. If using a scarf, tie it snugly but not painfully tight. For clips, choose ones with a strong grip. A light mist of hairspray over the entire style will help hold everything in place.
Key Takeaways for Perfect Messy Buns
Mastering the messy bun is all about embracing imperfection and understanding your hair’s natural tendencies. Here are the core principles:
- Texture is Key: Day-old hair or hair prepped with texturizing spray provides the best grip and volume.
- Don’t Overthink It: The more you try to make it perfect, the less ‘messy’ it becomes. Embrace the looseness.
- Strategic Pinning: Use bobby pins to secure the shape, not to create a tight, structured bun.
- Volume is Your Friend: Gently tugging at the roots and bun sections creates that desired full, soft look.
- Product Power: Dry shampoo, texturizing spray, and flexible-hold hairspray are your essential tools.
Essential Hair Care and Maintenance
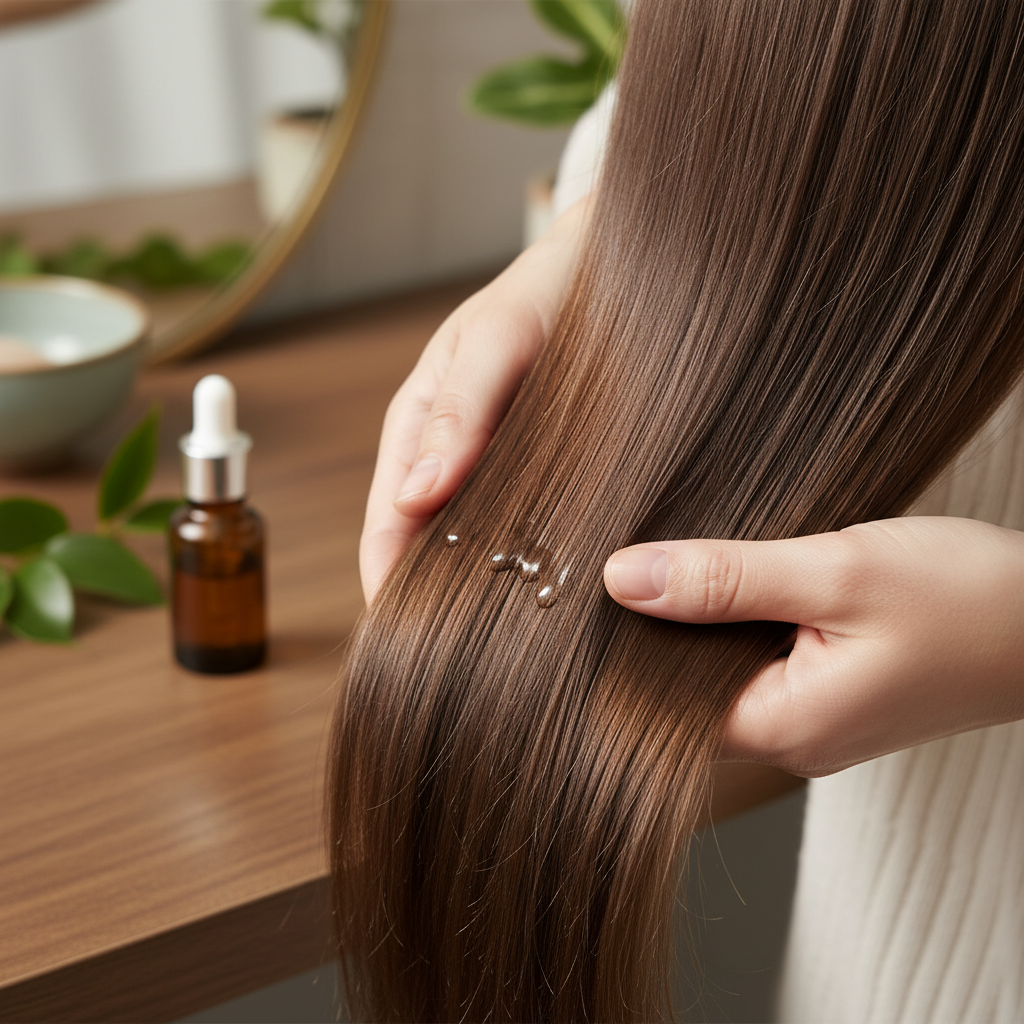
Healthy hair is the foundation for any great hairstyle, including the messy bun. Proper care ensures your hair looks its best, even when styled ‘undone’.
- Regular Washing and Conditioning: Use sulfate-free shampoos and conditioners appropriate for your hair type.
- Deep Conditioning: Incorporate a weekly hair mask to keep your strands hydrated and strong.
- Heat Protection: If you use heat tools to add texture or waves, always apply a heat protectant.
- Gentle Detangling: Use a wide-tooth comb on wet hair, starting from the ends and working your way up.
- Scalp Health: A healthy scalp promotes healthy hair growth. Consider a scalp scrub or massage.
Messy Bun Styling Dos and Don’ts
Do
- Do start with textured hair, whether it’s day-old or enhanced with product.
- Do use bobby pins generously to secure the bun from multiple angles.
- Do pull out face-framing pieces for a softer, more romantic look.
- Do experiment with different heights—high, mid, or low—to see what suits your mood and outfit.
- Do embrace your natural hair texture; it adds to the charm of the messy bun.
Don’t
- Don’t aim for perfection; the beauty is in its imperfection.
- Don’t pull your hair too tight at the base, as this can cause tension and breakage.
- Don’t overload with heavy products that can weigh down the hair.
- Don’t use old, stretched-out hair ties that won’t provide adequate hold.
- Don’t forget to protect your hair from heat if you’re adding waves or curls.
Common Messy Bun Mistakes to Avoid
Even though it’s ‘messy’, there are a few pitfalls that can turn your chic bun into a chaotic one.
- Over-Smoothing: Trying to make every strand lie flat defeats the purpose of a messy bun. A little frizz and a few flyaways are part of the charm.
- Too Tight: A bun pulled too tightly can look severe and cause headaches. It also makes it harder to achieve that soft, voluminous look.
- Using the Wrong Products: Heavy gels or waxes can make your bun stiff and greasy. Opt for lighter texturizers and flexible-hold sprays.
- Not Enough Pins: A wobbly bun will quickly fall apart. Use enough bobby pins to secure it firmly but invisibly.
- Wrong Placement: A bun that’s too high or too low for your face shape or outfit can look awkward. Experiment to find your sweet spot.
Occasion and Seasonal Styling Advice
The messy bun is surprisingly versatile and can be adapted for various occasions and seasons.
- Casual Everyday: A classic high or low messy bun with a few pulled-out strands is perfect for daily wear.
- Work or Professional: Opt for a slightly neater low messy bun, perhaps with a sleek front section and fewer loose pieces, for a polished yet relaxed office look.
- Evening or Formal: A braided messy bun or one adorned with elegant hairpins can be a stunning choice. Pair with a more defined makeup look.
- Summer Fun: High messy buns or space buns are ideal for keeping cool. Add a colorful scarf or scrunchie for a playful touch.
- Winter Chic: A low messy bun pairs beautifully with scarves and high-collared sweaters, offering warmth and sophistication.
From the effortlessly chic high bun to the playful double space buns, the messy bun is a true chameleon of hairstyles. It’s a testament to modern beauty—embracing natural texture, celebrating individuality, and finding elegance in imperfection. With the right techniques, tools, and a dash of confidence, you can transform your hair into a stylish statement that’s uniquely you. So go ahead, twist, pin, and perfect your messy bun. Your hair, your rules, your stunning style.